
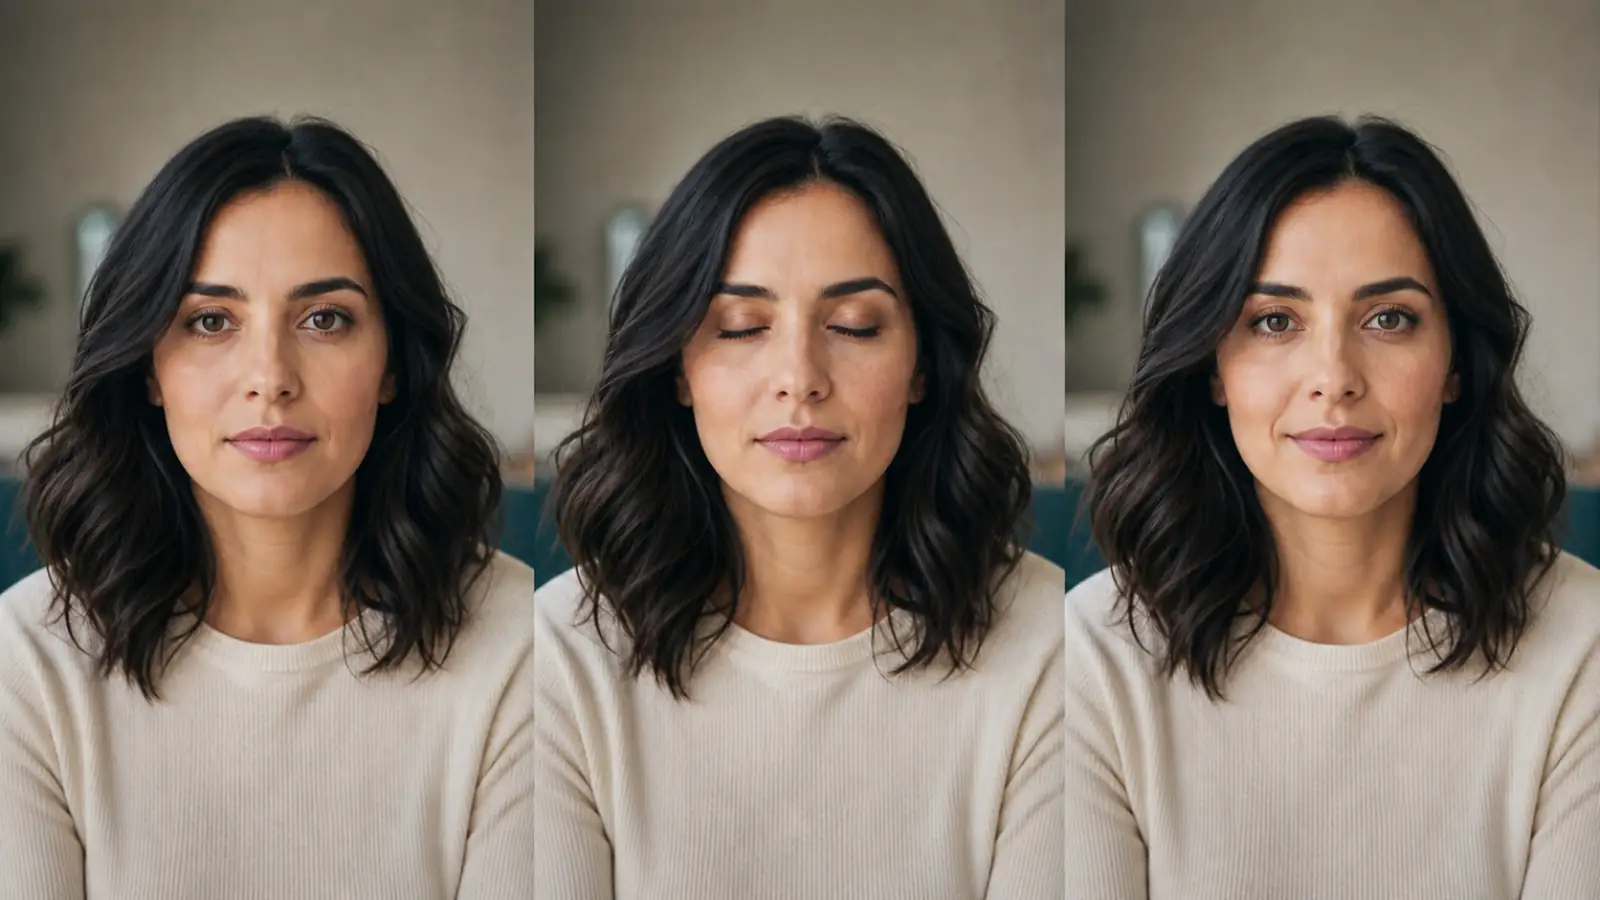
 ChatGPT
 Perplexity
 Gemini
 Claude
A portrait usually becomes uncanny not because it moves too little, but because the prompt asks the face to do too much at once.
A blink, smile, head turn, camera move, and changing light may sound natural in one sentence. Together, however, they force an image-to-video model to rebuild the eyes, mouth, jaw, ears, hair, skin, and background across several difficult changes. The result may move, but it may no longer look like the same person.
This guide uses a more controlled approach. You will learn how to choose a portrait the model can support, set a small motion budget, write a face-safe prompt, review the output, and add complexity without turning a calm portrait into an accidental performance.
Quick Answer
To get natural face motion from portrait photo to video AI, begin with a sharp, well-lit image in which one face is large and clearly visible. For the first generation, request one primary facial action, one subtle secondary motion, and no more than one simple camera move. Then add constraints that preserve the person's identity, age, facial proportions, skin texture, hairstyle, clothing, expression, and background.
A safe first test might contain one natural blink, barely visible breathing, and an extremely slow camera push-in. Do not start with talking, a wide smile, repeated eye movement, a large head turn, and an orbiting camera in the same clip. Generate the shortest useful test your chosen tool supports, review the face frame by frame, and change only one variable for the next attempt.
What Natural Face Motion Actually Looks Like
Natural motion is not the maximum amount of animation a model can produce. It is the amount of motion the original portrait can support without losing the person.
A believable result usually has five qualities:
- Stable identity: the eyes, nose, mouth, jaw, age, and overall likeness remain recognizable.
- Coordinated movement: a blink, breath, expression, and camera move do not compete or happen at unrelated speeds.
- Pose continuity: the generated action grows naturally from the head angle and body posture already visible in the photo.
- Consistent light and space: the lighting direction, background geometry, and depth do not change without a reason.
- A quiet first impression: the viewer notices the person before noticing the AI effect.
The easiest way to control those qualities is to give the clip a motion budget.
| Motion risk | Examples | How to use it |
|---|---|---|
| Low | One blink, subtle breathing, tiny hair movement, slow push-in, soft light continuity | Start here and combine no more than two subject cues |
| Medium | Small closed-mouth smile, slight eye-line change, tiny head tilt, gentle shoulder shift | Add only after a neutral version keeps the face stable |
| High | Talking, visible teeth, repeated blinking, large head turn, waving, walking, dancing, camera orbit | Test as a separate idea or use a specialized workflow |
“Subtle” should describe a visible limit, not merely decorate the prompt. One natural blink is more specific than natural eye movement. A five-degree-feeling head tilt is easier to interpret than looking around. An almost static camera is safer than cinematic dynamic movement.
Choose a Portrait the Model Can Animate
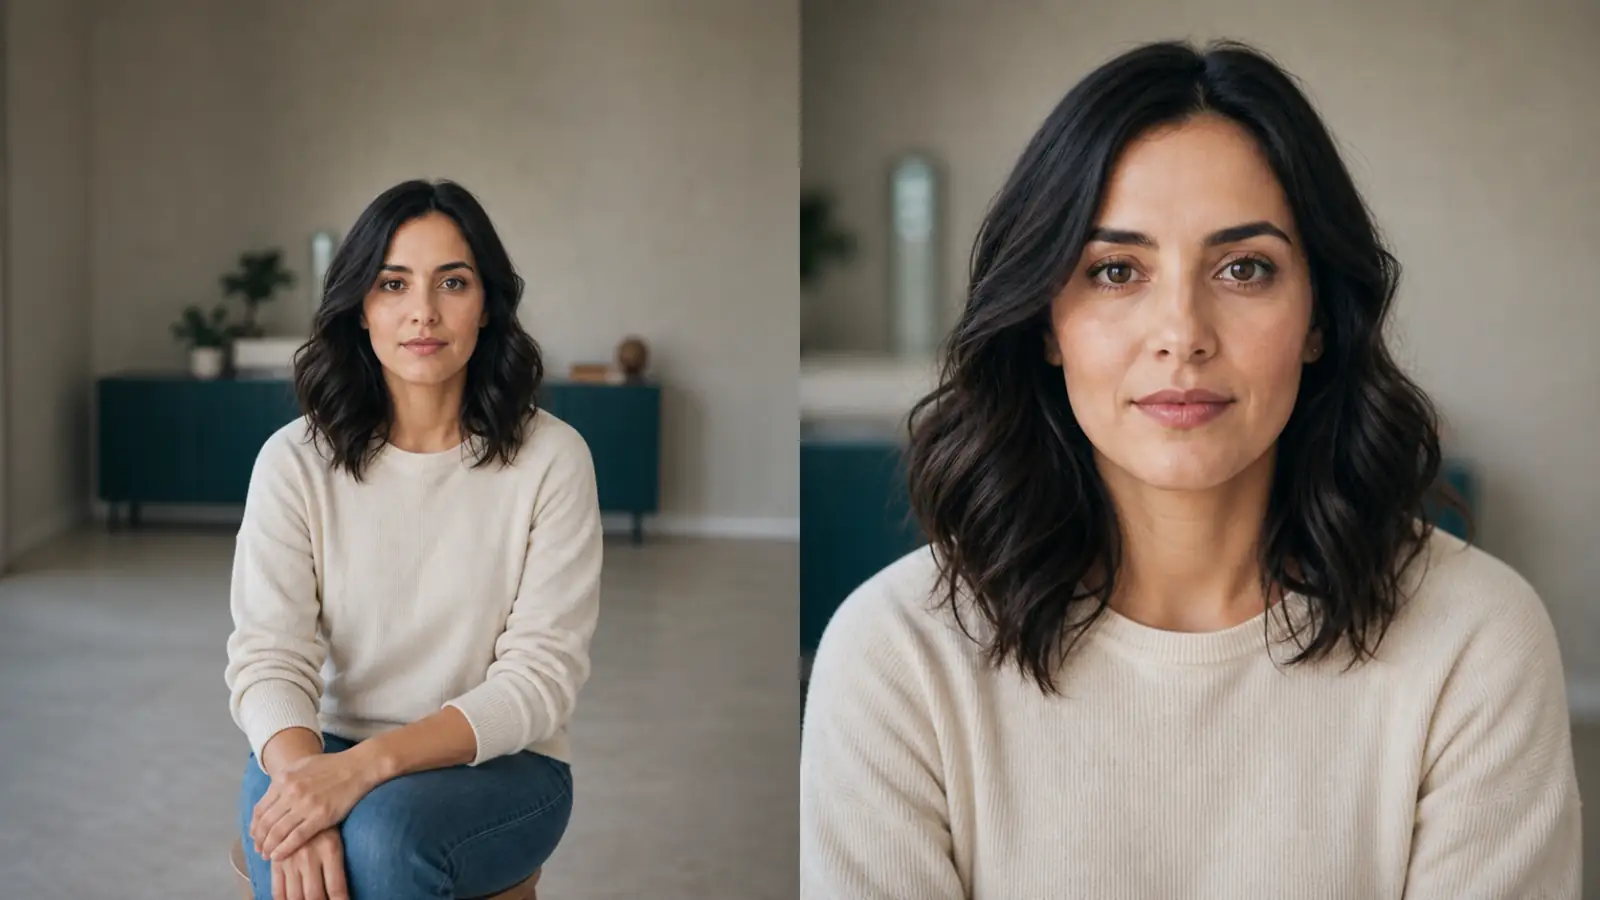
The prompt cannot preserve details the source image does not clearly contain. Before generating, judge the portrait at the crop and size you plan to use in the video.
Make the Face Large Enough to Read
A wide environmental portrait can look sharp as a photograph while providing relatively little information about the face. Crop closer when facial identity matters. A medium close-up or head-and-shoulders composition usually gives the model more usable detail around the eyes, lips, jawline, ears, and hairline.
Leave a little room above the head and around the shoulders. A crop that touches the hair, chin, or cheeks gives the model less space for breathing motion, hair movement, or a slow push-in. Do not crop away hands and shoulders halfway if the requested motion could bring those areas into view.
Prefer a Calm, Readable Expression
A neutral expression or small natural smile is easier to extend than a frame captured mid-speech, mid-laugh, or with tightly closed eyes. The model must predict what happens after the still image. An already complicated expression gives it more moving facial landmarks to resolve.
Check that:
- Both eyes are readable and not hidden by glare, hair, or deep shadow.
- The lips, chin, and jawline are not blurred by compression or beauty filters.
- The face is not partly covered by a hand, microphone, sunglasses, or another person.
- The lighting direction is understandable and not split by harsh mixed sources.
- The background is simple enough to remain stable when the subject moves.
Use Front-Facing or Mild Three-Quarter Views First
A large head turn asks the model to reveal facial surfaces that are not present in the source. A front-facing photo contains little reliable information about a full profile; a profile contains little information about the hidden eye and cheek. Start from the existing angle and request movement within it.
For a three-quarter portrait, a small eye-line change or tiny chin movement is usually safer than asking the person to face the opposite direction. For a profile, keep the profile and animate breathing, hair, light, or the camera instead of reconstructing a new frontal face.
Be Careful With Enhancement
Upscaling can help the model read a slightly soft face, but aggressive face enhancement can invent eyelashes, teeth, pores, or eye shapes that were never present. Inspect the enhanced portrait next to the original before using it as the video source. If the person already looks different in the repaired still, the animation will preserve the wrong identity more confidently.
Step-by-Step Natural Portrait Workflow
Treat the first generation as a stability test, not a finished performance. Once the identity survives a restrained version, increase one variable at a time.
Step 1: Set a Motion Budget
Choose three fields before writing the full prompt:
- Primary face action: one blink, a tiny closed-mouth smile, or a slight eye-line change.
- Secondary motion: subtle breathing, minimal hair movement, or a small lighting change.
- Camera behavior: static, almost static, or one very slow push-in.
You do not need to fill every field. A static camera with one blink can look more convincing than a clip with three subject actions and a moving lens. If the portrait is important, unfamiliar, damaged, or difficult, begin with only the primary action.
Step 2: Write the Prompt in a Fixed Order
Use this formula:
portrait framing + one primary face motion + one secondary motion
+ one camera instruction + lighting continuity + identity constraints
This structure separates what should move from what must remain stable. It also makes failed generations easier to diagnose because each phrase has one job.
Google's official Veo prompt guide separates useful controls such as shot framing and camera motion, character description, action, lighting, location, and style. The exact syntax differs between models, but the planning principle transfers well: describe the shot clearly instead of stacking vague adjectives.
Step 3: Add Preservation Constraints
Positive motion instructions tell the model what to create. Preservation constraints define the boundary of the task.
For identity-sensitive portraits, name the details that matter:
Preserve the same identity, facial proportions, age, eye shape, nose,
jawline, skin texture, hairstyle, clothing, expression, and background.
Then prohibit the specific failure most likely to occur:
No talking, no visible teeth, no large head turn, no face morphing,
no beauty-filtered skin, no cuts, and no new people.
A negative prompt cannot restore missing detail or guarantee a perfect face. It works best when the source image and motion request are already reasonable.
Step 4: Use Identity Controls When Available
Some tools expose a subject reference, identity binding, character reference, or similar control in addition to the starting image. These features can provide a second identity signal when the face must remain consistent across motion.
For example, MiniMax documents a subject-reference video mode that accepts a face photo and is intended to keep the subject's facial features consistent. Availability and behavior vary by model and interface, so treat reference controls as additional guidance rather than a guarantee.
Use the clearest, most representative face image as the reference. Avoid a reference with different age, makeup, hair, expression, or lighting unless the tool explains how multiple references are blended. A poor reference can compete with the starting frame instead of protecting it.
Step 5: Generate the Shortest Useful Test
Longer clips give errors more time to accumulate. Start with the shortest duration that can show the chosen motion clearly. One blink and a subtle push-in do not need a long sequence or multiple shots.
Keep the requested video in one continuous shot. Do not ask for an opening close-up, a profile reveal, a full-body action, and a final camera-facing smile inside the same short generation. If you need several beats, make separate clips and edit them together.
Step 6: Review the Face Frame by Frame
Watch the clip once at normal speed for overall feeling, then scrub through it slowly. Compare the middle and final frames with the source image.
Review:
- Eye size, eye direction, eyelids, and blink timing
- Nose width, lip shape, teeth, chin, and jawline
- Face width, age, skin texture, and asymmetry
- Hairline, ears, neck, and the boundary between face and background
- Clothing seams, jewelry, glasses, and objects near the face
- Light direction, background lines, and camera stability
A beautiful first frame is not enough. If the person becomes less recognizable as the clip progresses, the motion request is still too ambitious or the identity guidance is too weak.
Step 7: Change One Variable at a Time
If the neutral version is stable, add one medium-risk cue: a tiny closed-mouth smile, a slight eye-line change, or a small head tilt. Keep the rest of the prompt unchanged.
If the new result fails, you know which variable caused the problem. Rewriting the entire prompt, changing models, extending duration, adding a reference, and increasing motion at the same time may produce a different clip, but it will not teach you why the first one failed.
You can test a restrained portrait animation with your own photo, then compare a neutral version with one slightly stronger variation before spending credits on complex motion.
Copy-Paste Prompts for Portrait Photos
Use these prompts as starting points. Remove any instruction that the source portrait cannot support, and adapt duration or aspect ratio to the controls available in your tool.
Professional Headshot
Medium close-up professional portrait. The person makes one natural blink
and maintains a calm, confident expression with barely visible breathing.
The camera performs an almost imperceptible slow push-in. Soft studio light
remains consistent. Preserve the same identity, facial proportions, age,
skin texture, hairstyle, clothing, and clean background. No talking, no
visible teeth, no large head turn, no face morphing, and no cuts.
Why it works: the movement is small enough for a profile page, speaker introduction, portfolio, or business post without turning the subject into a talking avatar.
Creator or Social Profile Portrait
Natural close portrait of the creator. One relaxed blink, subtle breathing,
and a very small movement in a few loose strands of hair. The camera stays
nearly static with gentle background depth. Keep the original identity,
expression, face shape, skin texture, hairstyle, clothing, and background
consistent. No speaking, no exaggerated smile, no extra teeth, no sudden
eye movement, no warped hands, and no scene change.
Why it works: motion appears in separate layers, but the face remains the visual anchor.
Three-Quarter Portrait
Three-quarter portrait from the existing angle. The person's eyes shift
slightly toward the camera, followed by one soft natural blink. The head
angle and body pose remain almost unchanged. Static camera, steady soft
window light. Preserve the same identity, facial geometry, age, hairline,
clothing, and background. No full head turn, no new profile, no speaking,
no wide smile, no face morphing, and no cuts.
Why it works: it respects the facial surfaces already visible instead of asking the model to invent the opposite side of the head.
Static-Camera Portrait
Locked-off medium close-up portrait. The person breathes subtly and makes
one slow natural blink while keeping the original calm expression. No camera
movement. Lighting, focus, background, and composition remain unchanged.
Preserve the same identity, facial proportions, age, eye shape, mouth,
jawline, skin texture, hairstyle, and clothing. No talking, no teeth,
no head turn, no zoom, no face distortion, and no cuts.
Why it works: removing camera motion makes it easier to see whether the subject animation itself is stable.
A Prompt That Asks for Too Much
Make the person blink repeatedly, smile widely, look around, turn their head,
talk to the camera, wave, and move closer while the camera orbits dramatically.
This prompt combines repeated eye motion, a new expression, teeth and mouth shapes, unseen face angles, hand motion, body movement, and a complex camera path. Even if a model follows the overall idea, it has many opportunities to change the identity. Split it into separate shots or decide which single action actually communicates the intended moment.
Common Uncanny Results and How to Fix Them
Do not judge every failure as “bad quality.” Identify the first visible symptom and simplify the condition that caused it.
| What looks wrong | Likely cause | First fix to try |
|---|---|---|
| Blink looks like a twitch | Repeated or fast eye action | Request one slow natural blink and remove eye-line changes |
| Smile changes the identity | Expression is too large or reveals invented teeth | Use a tiny closed-mouth smile or return to neutral |
| Head turn creates a new face | The model must invent an unseen angle | Reduce the turn to a small tilt or keep the original pose |
| Face drifts over time | Clip is long or too many variables change | Shorten the test and keep one subject action |
| Skin becomes waxy | Source enhancement or generation smooths real texture | Return to a natural source and preserve skin texture |
| Hair merges with the background | Fine edges, motion, and background compete | Reduce hair movement and simplify the background |
| Background bends with the face | Camera and subject motion are conflicting | Lock the camera or remove environmental movement |
| Several people exchange features | Too many faces are moving independently | Keep the group still or animate one close portrait at a time |
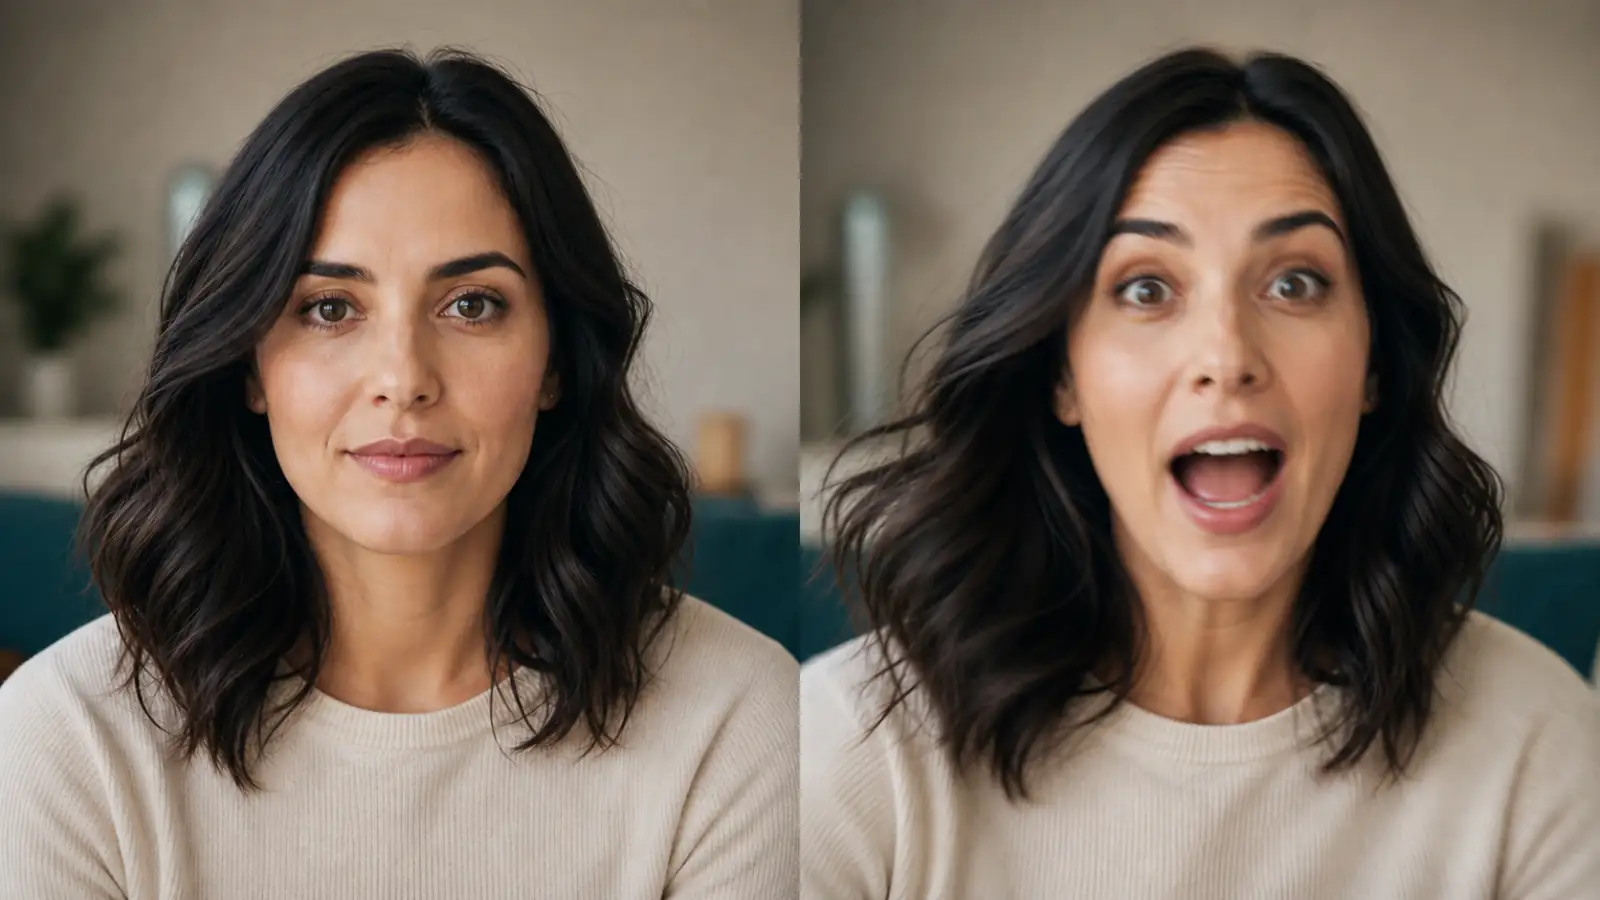
If the face is already distorted in the first generated frame, inspect the source crop, enhancement, lighting, and face size. If the face begins accurately and changes later, reduce duration, expression, head angle, camera movement, or scene motion. When the symptom is difficult to isolate, use the more detailed workflow to diagnose face drift frame by frame.
Portrait Animation Is Not the Same as a Talking Photo
Gentle image-to-video motion and accurate speech animation are related but different tasks.
A portrait animation can create a blink, breath, glance, slight expression, camera move, or atmospheric change without requiring the mouth to form a sequence of phonemes. A talking portrait must coordinate lips, teeth, tongue, jaw, cheeks, blinking, head movement, timing, and audio while preserving the identity over a longer performance.
If speech is the main goal, use a workflow built for talking photos, lip synchronization, or avatars. A general image-to-video model may create a short impression of speech, but a prompt such as “talk naturally” does not provide the timing information needed for accurate dialogue. Test a neutral no-speech clip first even when you plan to use the image in a later talking-photo workflow; it helps reveal whether the source face is stable.
Export the Portrait for Its Final Use
Choose the composition before generation when the tool supports the aspect ratio you need. Cropping after animation can remove breathing room or place the face under interface elements.
| Use case | Practical aspect ratio | Framing focus |
|---|---|---|
| TikTok, Reels, Shorts | 9:16 | Keep eyes and mouth near the central safe area; leave room for captions and controls |
| YouTube, portfolio, presentation | 16:9 | Use background space intentionally and avoid making the face too small |
| Profile post or feed preview | 1:1 | Keep the head, chin, and shoulders inside the square crop |
| Website hero or speaker card | Match the final layout | Test the actual crop before generating and preserve usable negative space |
Export the clean visual first. Add captions, logos, UI labels, voiceover, and music in an editor rather than asking the video model to redraw text inside the portrait. Before publishing, watch the final encoded file again; compression can make eyes, hair, skin texture, and shadow flicker more noticeable.
Privacy, Consent, and Honest Use
A realistic portrait is tied to a real identity. Use a photo you have permission to animate, especially when it depicts a client, colleague, child, private individual, or someone who did not upload the image personally.
Do not use a talking or expressive portrait to imply that a real person said, endorsed, or experienced something they did not. If a realistic result could confuse viewers, label it as AI-assisted and follow the disclosure rules of the platform where you publish it. For sensitive or private portraits, also review the tool's storage and deletion terms before uploading the source image.
FAQ
How do I animate a portrait without changing the face?
Use a sharp portrait with one clearly visible face, then request one small action and one simple or static camera behavior. Preserve the identity, facial proportions, age, skin texture, hair, clothing, expression, and background in the prompt. Generate a short test and reject versions that drift in the middle or final frames.
What Type of Portrait Photo Works Best for AI Animation?
A well-lit head-and-shoulders or medium close-up with a calm expression is a strong starting point. Front-facing and mild three-quarter angles usually require less invention than extreme profiles. Avoid tiny faces, heavy compression, deep shadows, hands covering the face, aggressive beauty filters, and crowded group scenes.
What Is the Best Prompt for Natural Face Motion?
Use a prompt with one primary facial action, one subtle secondary movement, one camera instruction, stable lighting, and identity constraints. For example: one natural blink, barely visible breathing, an extremely slow push-in, consistent soft window light, and no talking, teeth, large head turn, face morphing, or cuts.
Why Do the Eyes or Teeth Look Strange?
Eyes and teeth are small, high-contrast details that change shape during blinking, smiling, and speech. They are more likely to distort when the source is unclear or the prompt asks the model to reveal teeth and mouth positions that were not visible. Crop closer, reduce the expression, and test one blink before adding a smile or speech.
Should I Ask an AI Portrait to Smile or Talk?
A tiny closed-mouth smile can be a useful second test after a neutral animation succeeds. Talking is substantially harder because the mouth, teeth, jaw, cheeks, timing, and audio must stay coordinated. Use a dedicated lip-sync or talking-photo workflow when speech accuracy matters.
Can AI Animate a Side-Profile or Group Portrait?
Yes, but use smaller motion. Keep a profile near its original angle and animate breathing, hair, light, or the camera rather than requesting a full turn. For groups, either keep the people nearly still or create separate close shots; asking every face to blink, smile, and move independently increases the chance of merging or identity drift.
Does a Higher-Resolution Source Photo Prevent Face Distortion?
It helps when higher resolution contains genuine facial detail. It does not recover an eye hidden by hair, a jaw blurred by motion, or a profile never shown in the image. Clear composition, readable lighting, face size, restrained motion, short duration, and identity guidance still determine whether the portrait remains recognizable.
Conclusion
Natural portrait animation is a control problem, not a motion contest.
Start with one readable face. Give the clip one primary facial action, one quiet secondary motion, and no more than one simple camera instruction. Preserve the details that define the person, generate a conservative first test, and compare every new variation against the source rather than against the previous AI output.
If one blink, subtle breathing, and an almost static camera keep the identity intact, the workflow is working. Add complexity one variable at a time—and stop as soon as the portrait already feels alive.